Mitre Joint construction Frame
Frames with mitre joints look fine but are weaker than tenon and mortise joinery of the mitring stick frame as instance. They also demand thorough machining and assembly and rather aim cabinet doors often smaller than other constructions.

After squaring the four frame elements I saw the first 45° bevel taking care to not cross-cut the full width then reverse the workpiece left to right and cut the second bevel. Lastly I adjust the mitre gauge at right angle and form the second flat and square surface. As you may see below these small surfaces allows for the use of the adjustable stop gauge on the mortiser table and the height mortises are machined without modifying any adjustment.

But you probably wonder why height mortises and no tenon. Machining a tenon at the end of mitre cuts involves specific head cutters and several set up whereas making loose tenons is so easy and does not hold drawback compared to integral tenons. I typically retrieve a little stock of hardwood left in the shop and saw a strip near to the tenon thickness then shape the loose tenons and slightly round the corners before adjustments. Here we are.
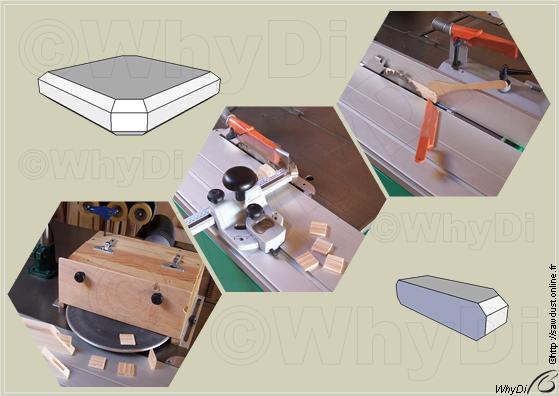
A dry assembly leads to the best location of each loose tenon that are then stuck and you may see below that the frame elements may hold zero or one or else two tenons.
It's now time to form the moulding on the table saw rather than on the spindle moulder since that paper aims as less machine and tool as we can. The groove and small rabbet do not raise much safety concerns thanks to the rip fence in height position that allows for the user hand to ride and slide along the fence plate. That way the fingers can't contact the teeth but the depressed handle push stick in conjunction with the wheel pressure module make the cut safer.

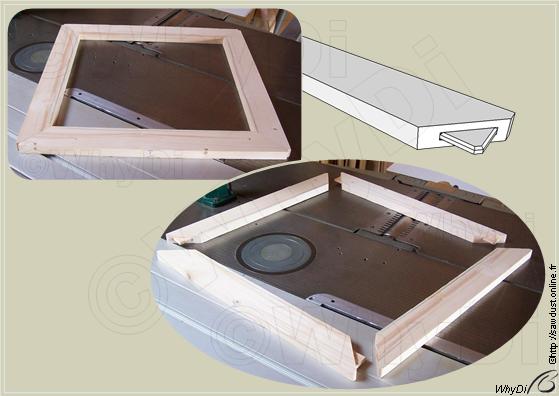
The workpiece goes through the tilted saw blade with the side put on the sliding table right to the blade and the face pinched against the planer fence locked in the dovetailed table groove. This is as way of chamfering without need of a spindle moulder and finally very safe since the workpiece does not glide and under condition of properly pinch the wood and set up the rip fence as shown below. Replacing the saw blade with a sanding disk enables for the whole elements to be roughly sanded in the same cycle.

The frame can now accommodate that simple raised panel with or without that chamfered applied moulding.
